Paramount-Warner Bros. Merger Paused: What You Need to Know
The Legal Roadblock: Understanding the Paramount-Warner Bros. Injunction The recent judicial intervention halting the $111 billion merger…
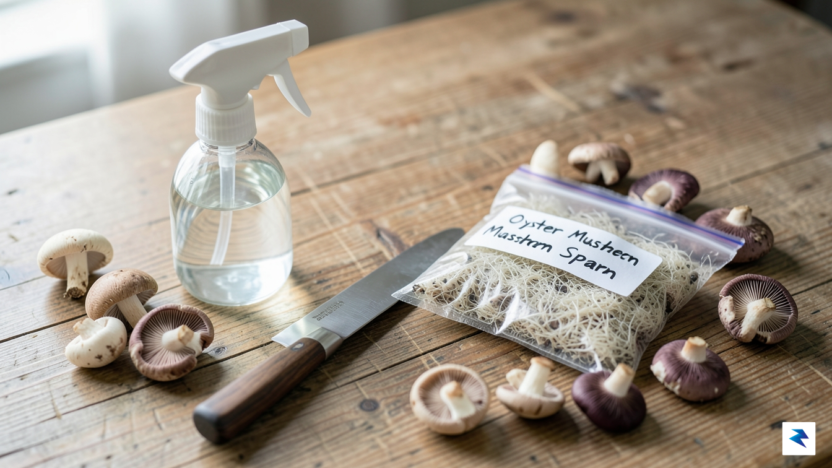
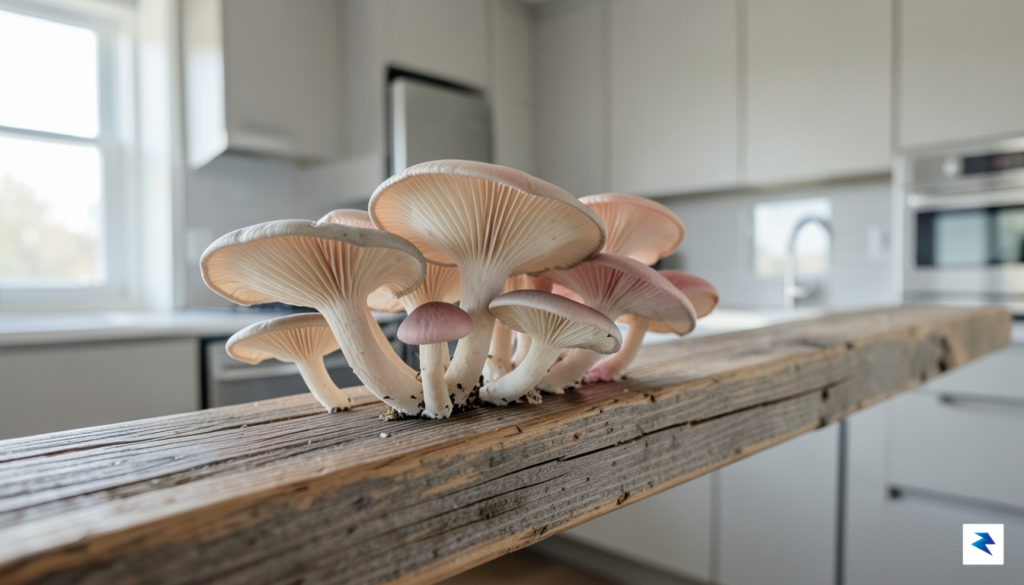
In recent years, the kitchen counter has become the new frontier for the modern gardener. While traditional vegetable patches remain a staple of self-sufficiency, mycology—the study and cultivation of fungi—has quietly transitioned from a niche laboratory experiment into a beloved mainstream hobby. There is something profoundly transformative about watching a dormant block of substrate burst into life, producing delicate, nutrient-dense mushrooms in a matter of days. This intersection of biology, culinary artistry, and tactile gardening offers a unique satisfaction that store-bought produce simply cannot replicate, turning the mundane act of grocery shopping into an active, hands-on pursuit of fresh, gourmet ingredients.
Beyond the obvious culinary rewards, growing mushrooms at home provides a meditative escape from our increasingly digital lives. Engaging with the fungal lifecycle requires a shift in perspective; it demands a rhythm of patience and quiet observation that is rare in the high-speed pace of 2026. As you monitor the sprawling white mycelium as it colonizes its environment, you are participating in a natural process that has underpinned forest ecosystems for millions of years. This connection to the “hidden” side of nature fosters a sense of stewardship and mental clarity, proving that tending to a living organism—even one as mysterious as a mushroom—can be as grounding as any traditional outdoor hobby.
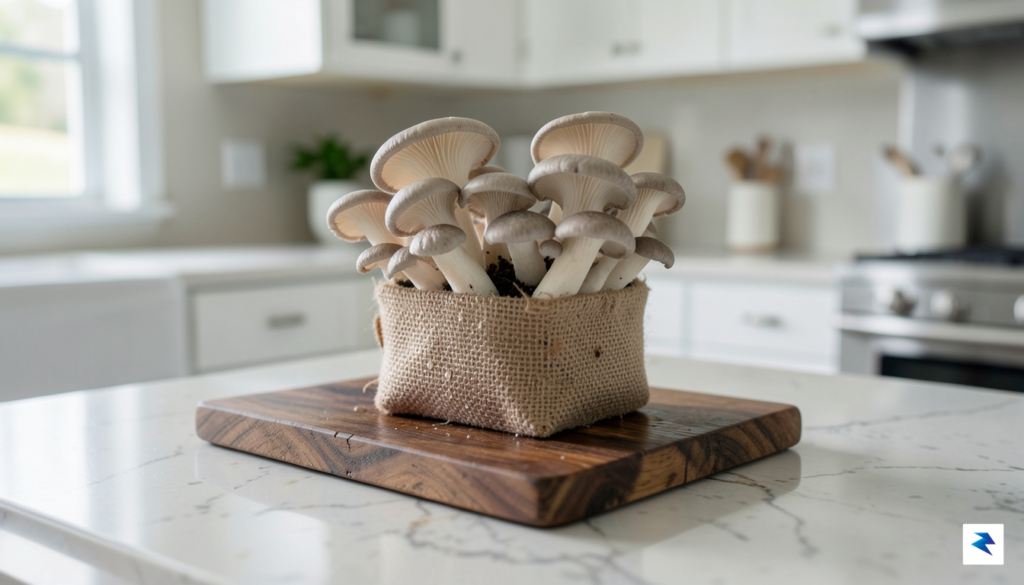
Cultivating your own fungi is less about mastering complex chemistry and more about learning to listen to the requirements of a living organism.
For many, the perceived complexity of mycology is the only barrier to entry, but the reality is surprisingly accessible for the home enthusiast. You do not need a sterile laboratory or a degree in biology to achieve a bountiful harvest. Thanks to advancements in simplified substrate technology and standardized grow kits, the barrier to entry has never been lower. By mastering a few core principles—such as humidity control, temperature regulation, and proper airflow—you can reliably produce species that are often expensive or difficult to find in local supermarkets. Whether you are a seasoned gardener looking to expand your repertoire or a complete beginner seeking a low-maintenance way to grow food indoors, the world of home mycology offers a rewarding, highly productive path toward true domestic self-reliance.
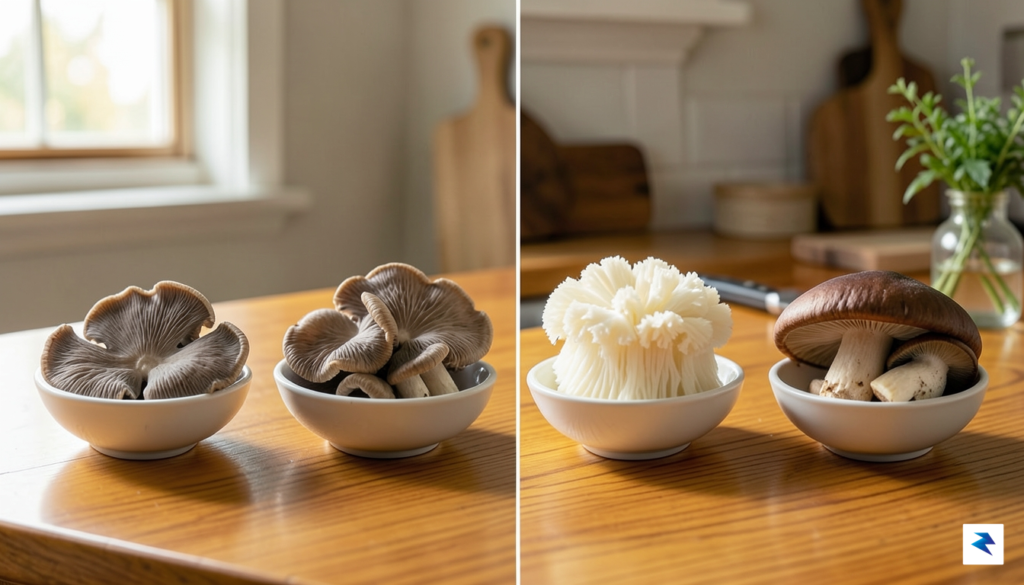
Embarking on your first foray into mycology can feel overwhelming, but the secret to early success lies in choosing the right partner for your indoor environment. Not all mushrooms are created equal; while some varieties demand near-laboratory sterility and precise atmospheric controls, others are remarkably rugged. For the absolute beginner, Oyster mushrooms (Pleurotus ostreatus) stand alone as the gold standard. Their mycelium is incredibly aggressive, meaning it colonizes substrate rapidly, effectively outcompeting common household molds and bacteria that often spell doom for more sensitive species. Because they are so forgiving of minor fluctuations in humidity and temperature, they provide a nearly foolproof introduction to the life cycle of fungi.
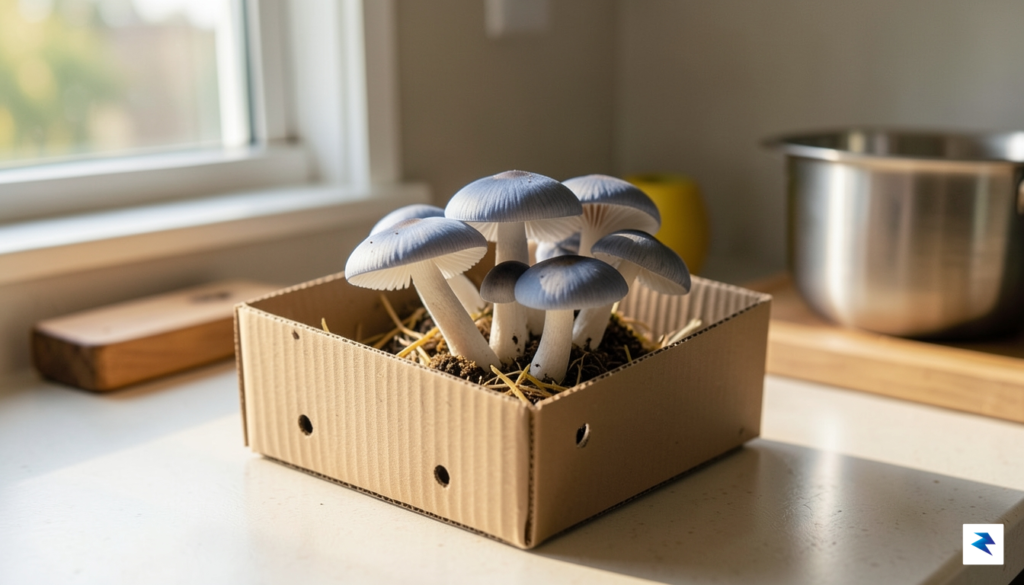
Once you have mastered the basics with Oysters, you may feel tempted to branch out into more complex varieties. Lion’s Mane is a popular choice for its unique culinary texture and cognitive health benefits, though it requires a bit more patience and a more stable environment than its aggressive cousin. Shiitake mushrooms, while prized for their deep, earthy flavor, typically require a longer “incubation” period and are best suited for those who can commit to a slightly more structured growing process, often involving wood-based substrates. Meanwhile, Wine Caps are an excellent option if you have an outdoor garden space, as they thrive on wood chips and straw beds rather than controlled indoor containers. Understanding these differences in temperament is essential for setting realistic expectations for your first harvest.
Success in mushroom cultivation is less about “having a green thumb” and more about understanding the specific biological preferences of your chosen fungi.
Central to your planning process is the concept of substrate preference—the specific medium that provides the nutrients your mycelium needs to grow. Think of the substrate as the mushroom’s diet; just as you wouldn’t feed a horse meat, you shouldn’t try to grow wood-loving mushrooms on a medium designed for straw-lovers. Oyster mushrooms are highly versatile and will happily consume everything from recycled coffee grounds and shredded cardboard to straw and hardwood sawdust. Conversely, Shiitake mushrooms are strictly wood-lovers, requiring a diet of hardwood sawdust supplemented with nutrients to fruit successfully. Before you purchase your first spores or grow kit, take a moment to research what your specific mushroom variety “likes to eat.” Matching your available supplies to the mushroom’s natural habitat requirements is the most effective way to ensure your indoor farm thrives from the very first flush.
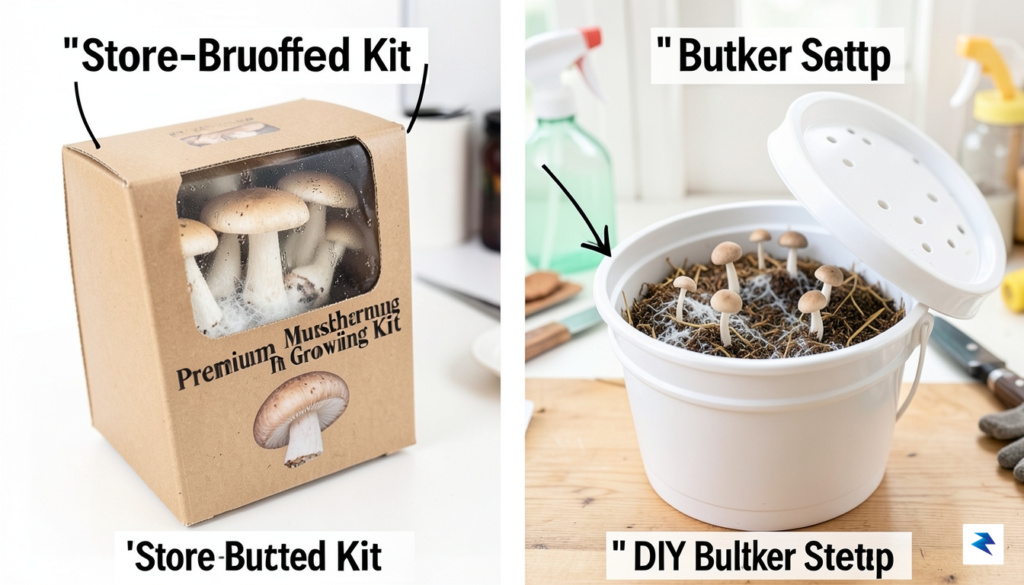
Stepping into the world of home mycology often begins with a fundamental decision: do you want a curated, guaranteed experience, or are you looking to master the intricate science of fungal cultivation from the ground up? For most beginners, the entry point is the pre-colonized countertop kit. These “plug-and-play” systems are essentially ready-to-fruit blocks of mycelium that have already navigated the most volatile stages of development. Their primary advantage is reliability; because the laboratory work has been handled by professionals, you are effectively paying for a high success rate. However, this convenience comes at a premium price point, and your creative control is restricted to simply misting the block and waiting for harvest. It is an excellent choice for those seeking immediate gratification, though it offers little in the way of deep technical skill acquisition.
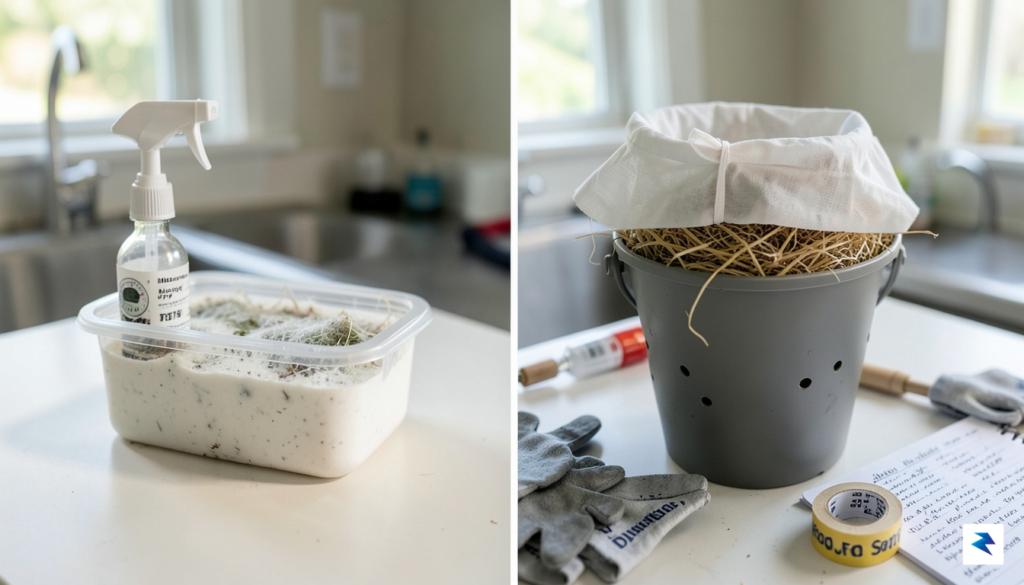
Conversely, the DIY substrate method represents a shift toward long-term skill building and self-sufficiency. Instead of purchasing a finished block, you are responsible for sourcing your own substrate—often inexpensive materials like pasteurized straw, recycled coffee grounds, or hardwood sawdust—and inoculating it yourself with mushroom spawn. While this approach requires a steeper learning curve, including the necessity of mastering sanitation to prevent mold contamination, it is significantly more cost-effective over time. By managing the substrate environment, you gain an intimate understanding of how different fungi react to their food sources and moisture levels. This method is not merely about the harvest; it is about learning the biological rhythm of the organisms you are cultivating.
The trade-off is clear: commercial kits prioritize outcome and ease, while DIY methods prioritize process and knowledge. Choose the path that matches your current appetite for experimentation versus your desire for a low-stakes first experience.
When weighing your options, consider the balance between initial startup costs and potential yield. A typical countertop kit might run between $25 and $40, producing a couple of pounds of mushrooms over a few weeks. In contrast, a DIY setup might require an initial investment of $50 to $100 for bulk spawn, spawn bags, and a basic pasteurization setup, but this equipment can facilitate dozens of future grows, driving the cost per pound down to a fraction of the commercial kit price. Ultimately, if your goal is to test the waters without risking frustration, start with a kit. If you find yourself captivated by the biology and want to turn mushroom growing into a sustainable hobby, the DIY route offers a much higher ceiling for both yield and personal satisfaction.
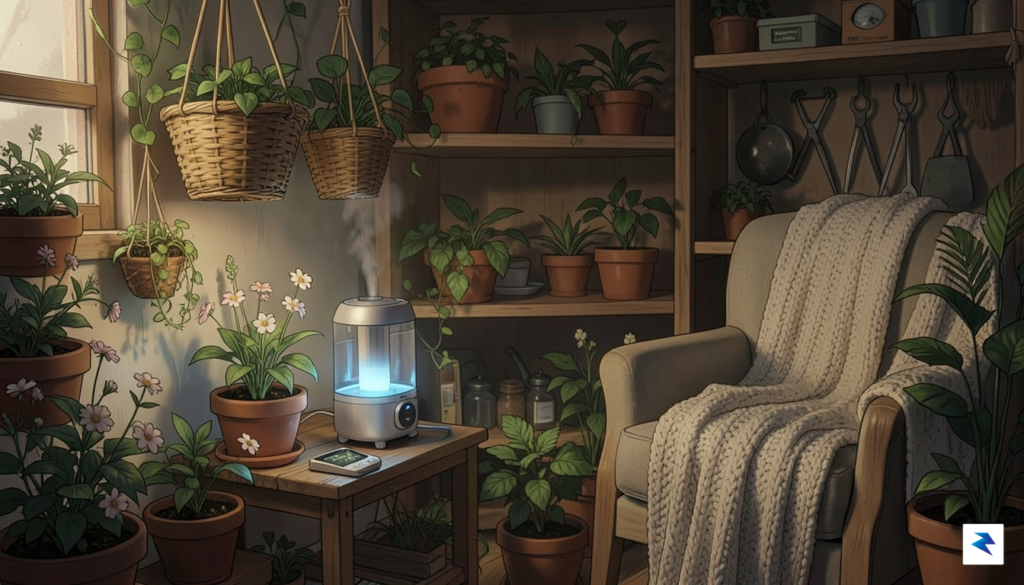
Unlike common houseplants that rely on photosynthesis to thrive, fungi operate under an entirely different biological playbook. When you grow mushrooms at home, you are essentially managing a transition from the vegetative phase—where the mycelium network colonizes your substrate—to the reproductive phase, where the actual mushroom “fruit” emerges. This transition is not automatic; it requires specific environmental triggers that mimic the natural shifts in forest conditions, such as the arrival of autumn rains or the breaking of a canopy. If you fail to provide these cues, your mycelium may simply remain dormant or, worse, become vulnerable to contamination.
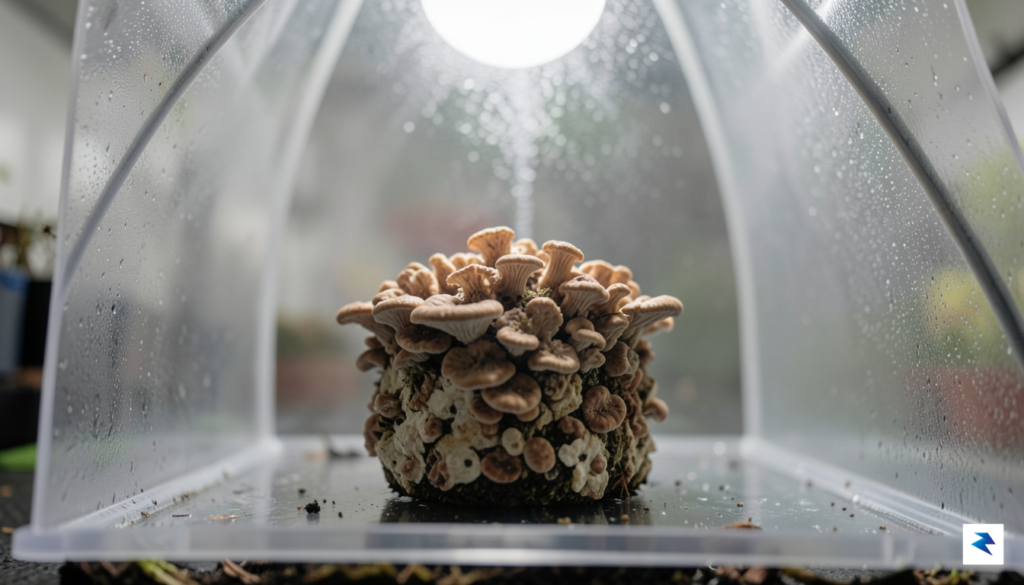
The first pillar of success is maintaining consistent humidity. Mushrooms are composed of roughly 90% water, and they require a high-ambient-humidity environment—ideally between 80% and 90%—to prevent their delicate tissues from drying out. If the air is too arid, the developing pinheads will abort or become woody and stunted. To manage this in a home setting, a DIY humidity tent is often the most accessible solution. By loosely draping a clear plastic bag with a few small holes over your fruiting block, you create a micro-climate that traps moisture while still allowing for the necessary gas exchange. Regular misting with a fine-spray bottle keeps the interior saturated without pooling water directly on the mycelium.
Success in mushroom cultivation is less about “tending” to the plants and more about “curating” a micro-ecosystem that tells the fungi it is time to reproduce.
Beyond moisture, you must master the delicate balance of fresh air exchange (FAE) and indirect light. Many beginners mistakenly assume that mushrooms thrive in total darkness, but most species require ambient, indirect light to signal the direction of growth and trigger the pinning process. However, this must be paired with constant airflow. If your mushrooms are kept in a stagnant environment, carbon dioxide (CO2) will build up near the substrate. Because fungi “breathe” oxygen and exhale CO2, high concentrations of the latter cause mushrooms to grow long, spindly stems and tiny caps as they desperately stretch in search of better air. This “leggy” growth is a classic sign of poor ventilation.
By treating these environmental variables as a cohesive system rather than isolated chores, you can successfully nudge your mycelium to produce a bountiful harvest. Consistency is the ultimate key; fluctuations in temperature or humidity can confuse the fungi, leading to uneven flushes. Once you learn to read the biological feedback your mushrooms provide, you will find that the process becomes much more intuitive, turning your home into a reliable, productive mushroom lab.
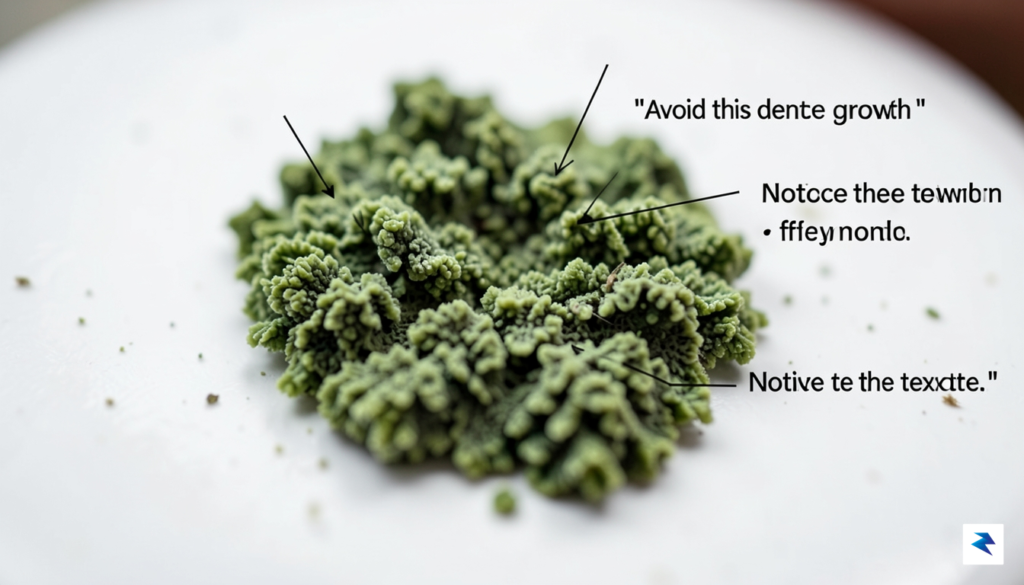
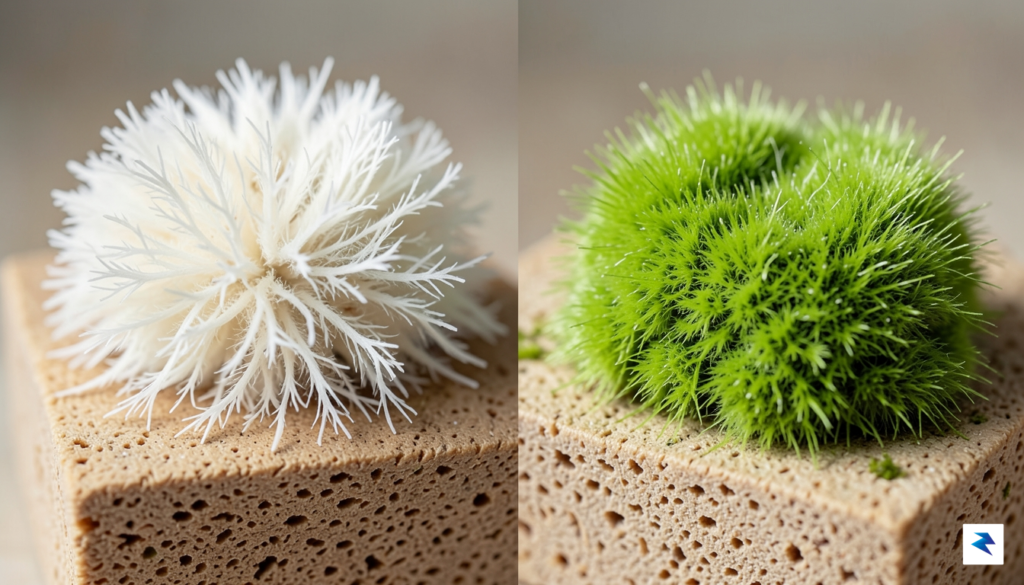
In the world of mycology, failure is not a sign of incompetence; rather, it is a fundamental part of the learning curve. Even the most experienced growers encounter contamination, and the ability to distinguish between healthy, bright white mycelium and invasive intruders is the single most valuable skill you can cultivate. Healthy mycelium should appear as thick, fuzzy, or ropey white threads (rhizomorphs) that colonize your substrate evenly. Conversely, if you spot patches of forest green dust, slimy yellow secretions, or gray, cobweb-like fuzz that grows rapidly over the surface, you are likely dealing with contaminants such as Trichoderma or bacterial blotch. When these invaders appear, they are usually a signal that your environment lacked the necessary sterility or that your spawn was compromised before it even touched the substrate.
The foundation of a successful harvest is impeccable hygiene, often referred to as “sterile technique.” Even in a home setting, you should treat your workspace like a miniature laboratory. Before handling your spawn, always wipe down your surfaces with 70% isopropyl alcohol and ensure your hands and forearms are thoroughly sanitized. If you are working with grain spawn, utilizing a still-air box (SAB) is highly recommended to prevent airborne spores from settling on your vulnerable materials. Remember that contaminants are opportunistic; they thrive in the same warm, humid conditions that mushrooms love, which is why your initial preparation is the only line of defense you have against a failed batch.
Sometimes, your mushrooms don’t show visible mold, but they simply stop growing altogether. When you encounter stalled growth, don’t rush to the trash can immediately. First, assess the environmental conditions: if the substrate feels dry to the touch, your mushrooms may be dehydrated, and a gentle misting of the surface might reinvigorate the mycelial network. However, if the surface appears “cased” or sealed off with a thick, leathery layer, the mycelium may be struggling to breathe or receive proper gas exchange. In these instances, increasing fresh air circulation by slightly cracking your fruiting chamber lid can often kickstart the process.
If you see vibrant green colors or detect a foul, sour, or vinegar-like smell emanating from your grow kit, do not attempt to “save” it. Contamination is aggressive and will almost certainly compromise your entire grow area if left unchecked.
Ultimately, knowing when to cut your losses is essential for maintaining your sanity as a grower. If the mycelium has stalled for more than two weeks despite your adjustments to humidity and airflow, or if you observe widespread discoloration that isn’t white, it is time to start over. Dispose of the contaminated material far away from your grow area to prevent spores from lingering in your home. By documenting your process and identifying where the breach in sterility occurred, you turn a failed project into a masterclass for your next attempt, ensuring that your future flushes are robust, healthy, and bountiful.
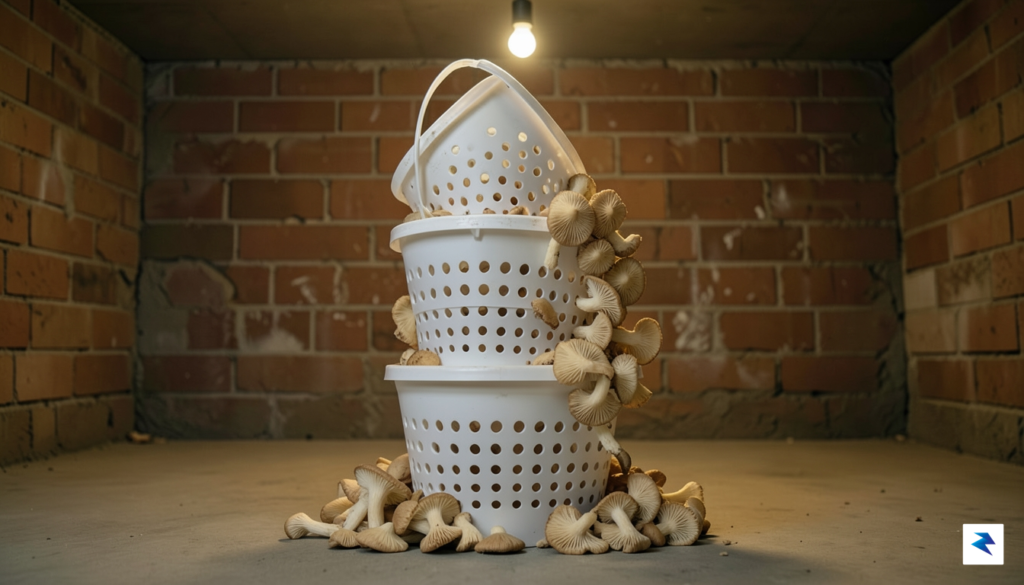
Once you have successfully harvested your first few flushes from a pre-colonized kit, you will likely find yourself craving a more hands-on, prolific experience. Transitioning to bucket cultivation is the natural next step for the home mycologist; it is not only an incredibly cost-effective way to produce food, but it also transforms your kitchen or garage into a reliable, year-round production hub. Unlike the limited yield of a cardboard box kit, a standard five-gallon food-grade bucket can produce several pounds of mushrooms per cycle, allowing you to move beyond mere snacking and toward a consistent supply that can easily be shared with friends, neighbors, and extended family.
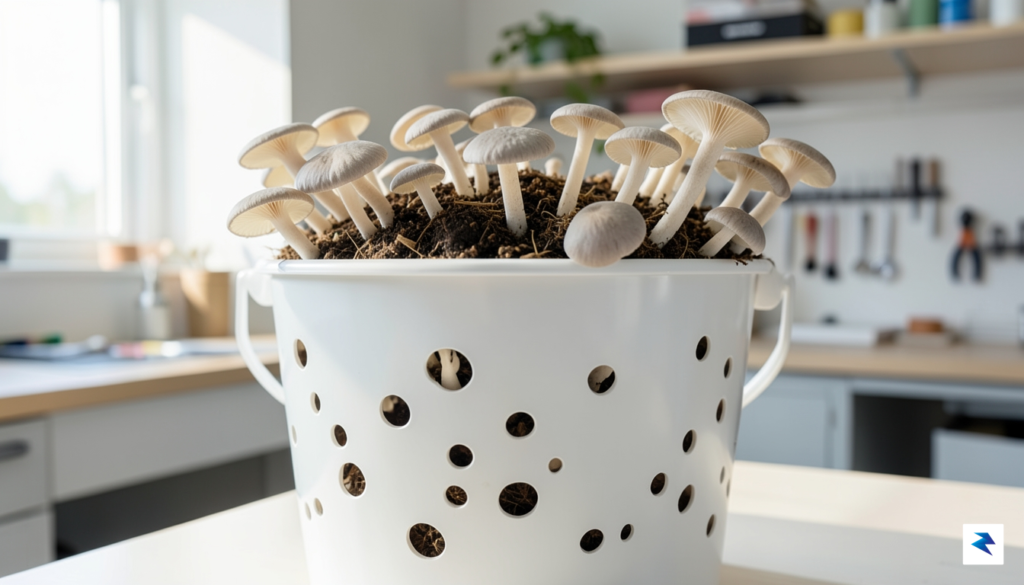
The process begins with sourcing clean substrate, such as straw or wood chips, which must be pasteurized to ensure that your chosen mushroom mycelium can establish dominance before competitors take hold. Pasteurization is simple: submerge your straw in hot water—ideally between 150°F and 170°F—for about an hour. Once the straw has cooled and reached the correct moisture level, you simply layer it into your drilled bucket alongside your grain spawn. By drilling one-inch holes around the perimeter of the bucket, you create natural “fruiting ports.” As the mycelium colonizes the straw, it will seek out these holes, eventually erupting into beautiful, cascading clusters of mushrooms that require little more than occasional misting to thrive.
The shift from kits to buckets represents a transition from consumer to producer, turning household waste into a nutrient-dense food source that defies the traditional grocery store supply chain.
Beyond the immediate satisfaction of a bountiful harvest, bucket cultivation is a powerful exercise in sustainable living. By utilizing agricultural byproducts like straw or even recycled cardboard, you are effectively participating in a closed-loop system that turns discarded materials into gourmet nutrition. This method is infinitely scalable; as you gain confidence, you can line up a dozen buckets in a row, staggering your inoculations to ensure that you have fresh mushrooms ready for harvest every single week of the year. It is a rewarding, meditative practice that connects you deeply to the cycles of nature, all while keeping your grocery bill low and your kitchen pantry stocked with the freshest ingredients imaginable.
As you look toward the future of your home mycological journey, remember that each bucket is a laboratory of sorts. Experimenting with different substrates and environmental conditions will refine your instincts and deepen your understanding of fungal biology. Whether you are aiming to become self-sufficient or simply want to master a new craft, moving to bucket cultivation provides the framework for a lifetime of abundant harvests, proving that high-quality, sustainable food production is well within reach for anyone with a little curiosity and a few spare buckets.
You must be logged in to post a comment.