
How to Turn Any Web App Into an Autonomous AI Agent Tool
The Evolution of AI Agent Integration For the past few years, the narrative surrounding artificial intelligence has been dominated by…
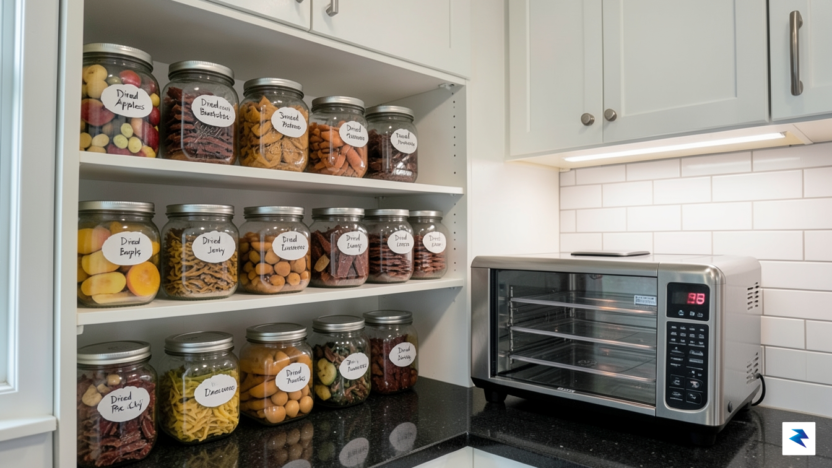
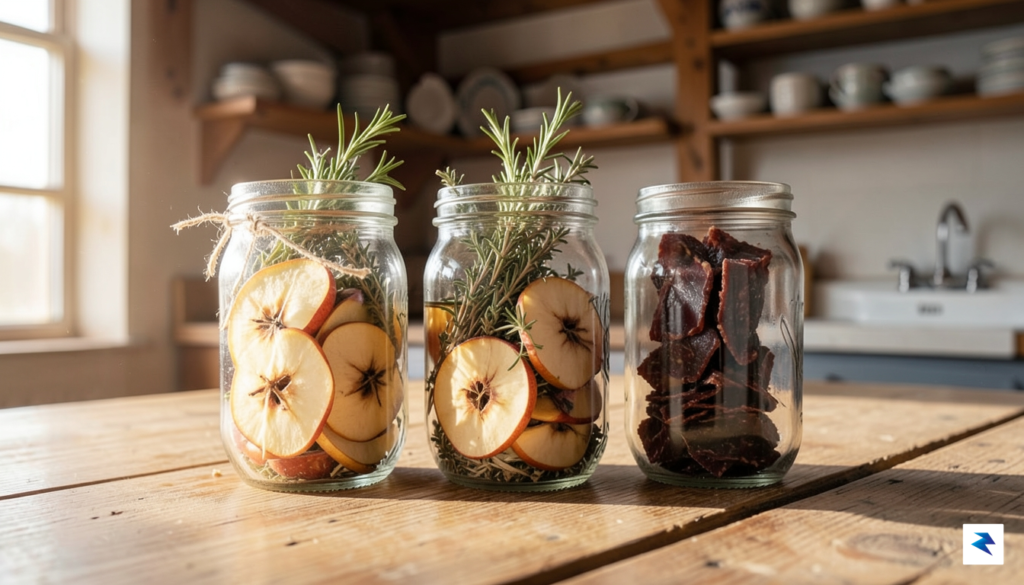
At its core, food dehydration is far more than a rustic preservation method; it is a sophisticated approach to modern food security that fundamentally alters the chemistry of your pantry. By systematically removing moisture, you effectively lower the water activity level of your produce, a process that inhibits the growth of bacteria, yeasts, and molds that would otherwise accelerate spoilage. This is not merely about drying out a few herbs; it is a transformative process that halts enzymatic activity while maintaining the structural integrity of your food. Once the moisture content is reduced to a safe threshold, the result is a shelf-stable ingredient that can be stored for years without the constant need for refrigeration or expensive electricity-dependent climate control.
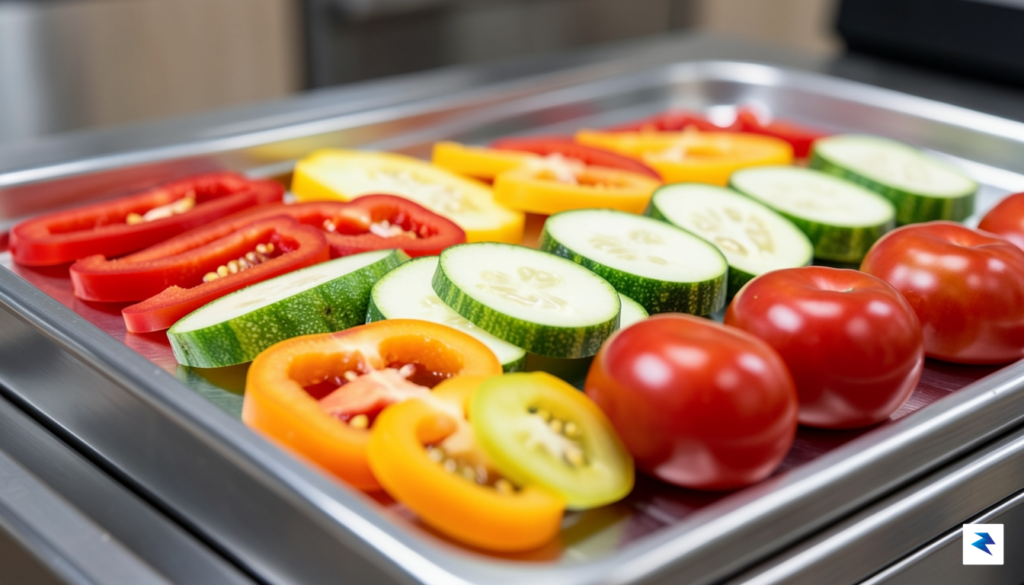
When compared to traditional high-heat methods like pressure canning, dehydration stands out as the superior method for preserving the delicate nutritional profile of your harvest. Canning often subjects produce to prolonged, intense temperatures that can denature heat-sensitive vitamins, such as Vitamin C and various B-complex vitamins. In contrast, dehydration functions at lower, controlled temperatures, which helps to lock in the essential phytonutrients and enzymes that define high-quality produce. Because you are not using heavy liquid mediums like syrups or brines, you are also avoiding the addition of unnecessary sugars and sodium, ensuring that your long-term food supply remains as nutrient-dense as the day it was picked from the garden.
The true power of a dehydrator lies in its ability to turn seasonal abundance into a localized, year-round food security system that costs pennies on the dollar compared to store-bought alternatives.
Beyond the nutritional advantages, the financial argument for home dehydration is undeniable for any self-sufficient kitchen. Commercial freeze-dried goods have surged in popularity, yet they often come with a staggering price tag that places them out of reach for consistent, everyday use. By purchasing seasonal produce in bulk—or harvesting it yourself during peak growth—you can bypass the grocery store’s markup and create your own pantry staples for a fraction of the cost. Whether you are creating fruit leathers for snacks, drying medicinal mushrooms, or crafting your own vegetable bouillon powders, you are reclaiming autonomy over your grocery budget. This process effectively bridges the gap between the frantic, short-lived window of harvest time and the lean months of winter, ensuring that your pantry remains a reliable resource regardless of external supply chain fluctuations.
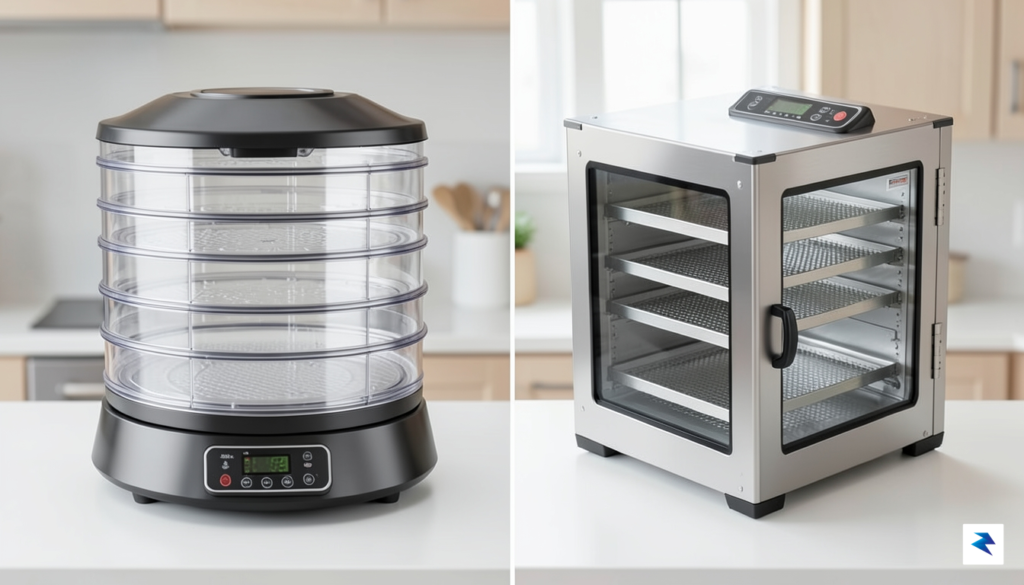
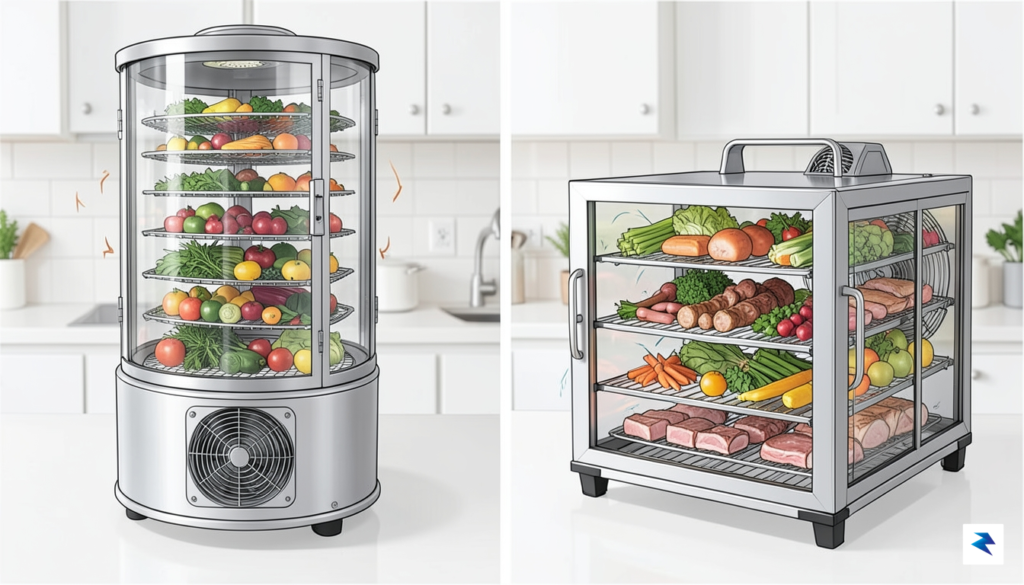
The internal design of a food dehydrator, specifically how it manages airflow, is perhaps the most critical factor dictating both the consistency of your dried goods and your overall user experience. This fundamental difference in engineering directly impacts everything from the space your unit occupies to the amount of hands-on attention it demands during the drying process. Whether you’re aiming for compact storage in a small kitchen or seeking high-volume processing capabilities for a self-sufficient pantry, understanding these distinct airflow systems is essential for achieving reliably consistent results across every single tray.
Vertical airflow dehydrators are characterized by their stackable tray design, where air typically circulates from a fan unit located at the bottom (though some models place it at the top). The warm, dry air is pushed upwards through a central column or vents, then across and around each tray, eventually exiting through the top or sides. These units often feature round or square trays that stack on top of one another, making them a popular choice for their relatively smaller footprint and more budget-friendly price point, appealing to beginners or those with limited counter space.
While compact and accessible, the vertical airflow design inherently presents challenges to uniform drying. As the air rises from the heat source, it gradually loses both heat and moisture-absorbing capacity. This often means that the trays closest to the fan will dry significantly faster and more thoroughly than those at the top, leading to inconsistent results within a single batch. Consequently, users frequently need to rotate and rearrange the trays multiple times throughout the drying cycle to ensure even dehydration, adding a manual step to the workflow. Furthermore, if you’re drying different types of food simultaneously, there’s a higher risk of flavor transfer as the air circulates upwards through all layers.
In contrast, horizontal airflow dehydrators feature a box-like construction with the heating element and fan strategically mounted at the rear of the unit. This design blows warm, dry air horizontally across all trays simultaneously, mimicking the airflow dynamics of a convection oven. The trays are typically square or rectangular and slide in and out like shelves, allowing for independent access without disturbing other layers. This system is widely regarded as the superior choice for consistent, high-quality drying, often favored by serious home food preservers and those seeking professional-grade results.
The primary advantage of horizontal airflow is its remarkable consistency. Because air is distributed evenly across every tray from the back, each piece of food receives uniform exposure to warm, dry air, virtually eliminating the need for tray rotation. This “set it and forget it” convenience significantly streamlines the drying process, making it ideal for larger batches or extended drying times. Moreover, the design minimizes flavor transfer between different foods, as the air passes across each tray rather than through successive layers. While these units generally command a higher price and a larger countertop footprint, the investment often pays off in terms of efficiency, reliability, and superior food quality.
Key Takeaway: The choice between vertical and horizontal airflow systems fundamentally impacts your dehydrating workflow. Vertical units demand more active management with tray rotation, while horizontal units offer a more hands-off, consistent experience.
Beyond performance, the design of your dehydrator also influences its ease of maintenance and cleaning. Vertical airflow units, particularly those with bottom-mounted fans, can pose a challenge if food drips or crumbs fall into the fan housing. Cleaning these intricate areas often requires more careful attention and can sometimes be difficult to access thoroughly. The stackable nature also means that if one tray is particularly messy, it can affect the trays below it.
Horizontal airflow dehydrators, on the other hand, typically offer a more straightforward cleaning process. Since the fan and heating element are housed separately at the rear, the drying chamber itself is usually an open space, making it much easier to wipe down. Many models also feature dishwasher-safe trays, further simplifying cleanup after a large batch. This ease of maintenance contributes significantly to the overall user experience, especially for those who plan to use their dehydrator frequently.

When you transition from casual snacking to building a self-sufficient pantry, the limitations of entry-level dehydrators quickly become apparent. Amateur units often rely on fixed heating elements that fluctuate wildly in temperature, which can compromise the nutritional integrity of your harvest. For long-term storage, you need a machine that offers granular control. An adjustable thermostat is non-negotiable; for example, delicate herbs require low, consistent heat to preserve volatile oils, while meats destined for jerky demand higher temperatures to ensure pathogen elimination without “case hardening,” where the exterior dries too quickly and traps moisture inside.
Precision extends beyond temperature into the realm of timing. Professional-grade machines integrate robust digital timers that allow you to set your cycle and walk away with total peace of mind. Without this feature, you risk over-drying your produce, which results in brittle, flavorless food that lacks the chewy, shelf-stable texture required for years of storage. Furthermore, high-quality units typically feature rear-mounted fans rather than bottom-mounted ones. This design prevents juices or debris from falling into the heating element, effectively extending the lifespan of your appliance by several years while ensuring even airflow across every single tray.
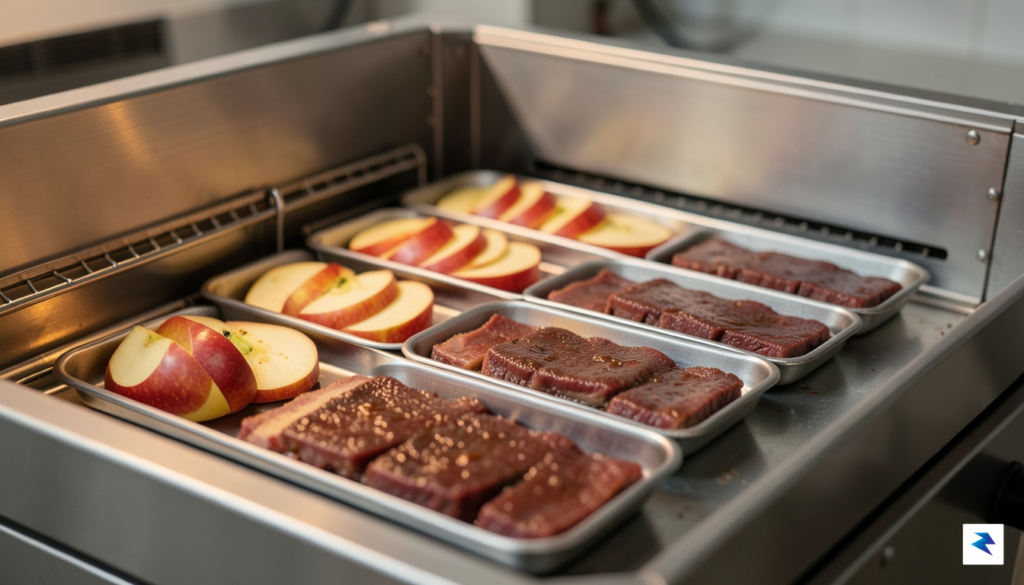
Material construction is perhaps the most significant divider between a disposable kitchen gadget and a lifelong tool. While BPA-free plastic is functional, it eventually succumbs to heat-induced brittleness and can harbor odors or bacteria in microscopic surface scratches. Investing in a stainless-steel dehydrator provides a non-porous, sanitary surface that is significantly easier to sanitize between batches. Because you are processing large quantities of food over many seasons, the durability of your trays and housing determines the long-term cost-effectiveness of your investment.
To guarantee a pantry that lasts, prioritize equipment that emphasizes uniform heat distribution and material longevity; a machine that requires replacement after two seasons is an expense, not an investment.
Finally, consider the wattage and overall build quality of the heating element. Lower-wattage units often struggle to reach capacity when fully loaded, leading to uneven drying times that can cause some trays to spoil while others remain perfectly preserved. A high-wattage unit—ideally between 600 and 1,000 watts—provides the necessary thermal headroom to process dense batches of root vegetables or heavy fruits without taxing the motor. By selecting a machine that balances these technical specifications, you ensure that your preservation efforts result in a stable, nutritious, and reliable food supply that remains viable long after the harvest has ended.

Because food dehydration is inherently a slow-paced preservation method, the operational cost of your appliance is a critical long-term consideration. When you commit to a 24-hour cycle to dry batches of fruit leathers or jerky, even minor inefficiencies in heating elements can compound, leading to noticeable spikes in your monthly utility expenses. Modern, high-end dehydrators are engineered with sophisticated thermostats and insulated housings that minimize heat loss, allowing the unit to cycle the heating element on and off rather than running it at full capacity continuously. When evaluating a potential purchase, look for models that emphasize “airflow optimization” rather than raw wattage; a machine that moves air efficiently requires significantly less energy to maintain a consistent temperature, ultimately shortening your drying times and reducing your overall electrical footprint.
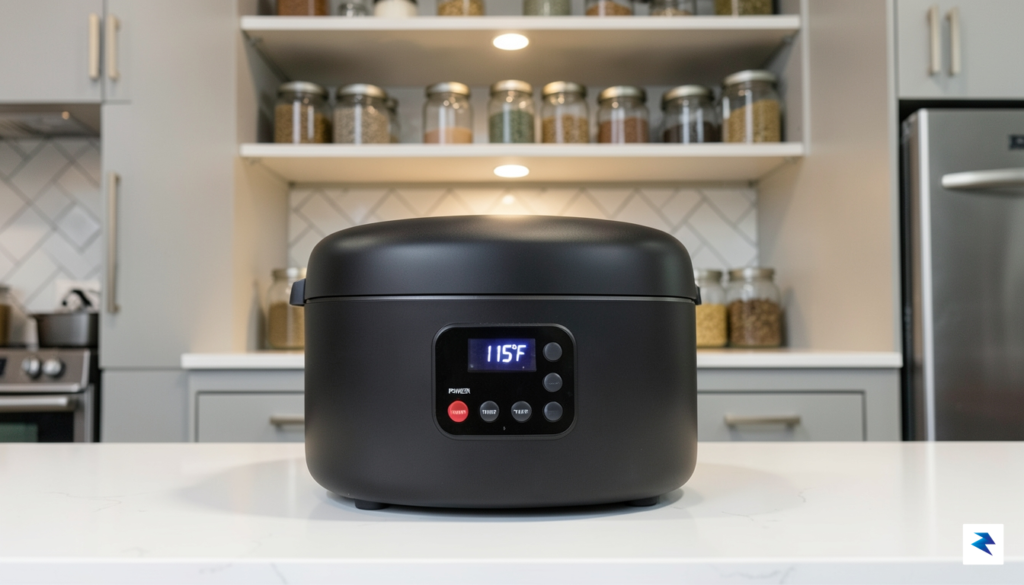
Beyond energy consumption, the acoustic impact of a dehydrator running for an entire day should not be underestimated. Most high-performance units utilize powerful rear-mounted fans to circulate heat, which inevitably creates a persistent drone that can become intrusive in open-concept living spaces. While lower-cost models often rely on loud, vibration-prone fans, premium units are increasingly incorporating sound-dampening technology and balanced fan blades to keep the noise floor low. If your kitchen space is integrated into your living area, prioritize machines that advertise decibel ratings under 50 dB, which is roughly equivalent to the sound of a quiet library or a gentle conversation.
For the quietest experience, choose a unit with a rear-mounted horizontal airflow system; these tend to be structurally more stable and quieter than top-mounted fan designs, which often suffer from rattling as the plastic trays age.
If you find that your preferred model is still louder than you would prefer, strategic placement is your best ally in maintaining a peaceful home. Many self-sufficient homesteaders choose to relocate their dehydrators to a dedicated utility room, a temperature-controlled garage, or a ventilated pantry. When moving your dehydrator to an auxiliary space, ensure that the environment remains dry and that the unit has at least six inches of clearance on all sides to allow for proper air intake and exhaust. By isolating the machine from your primary living area, you can run extended drying cycles overnight or throughout the workday without the ambient hum disrupting your focus, allowing you to maximize your preservation efforts without compromising the comfort of your home environment.
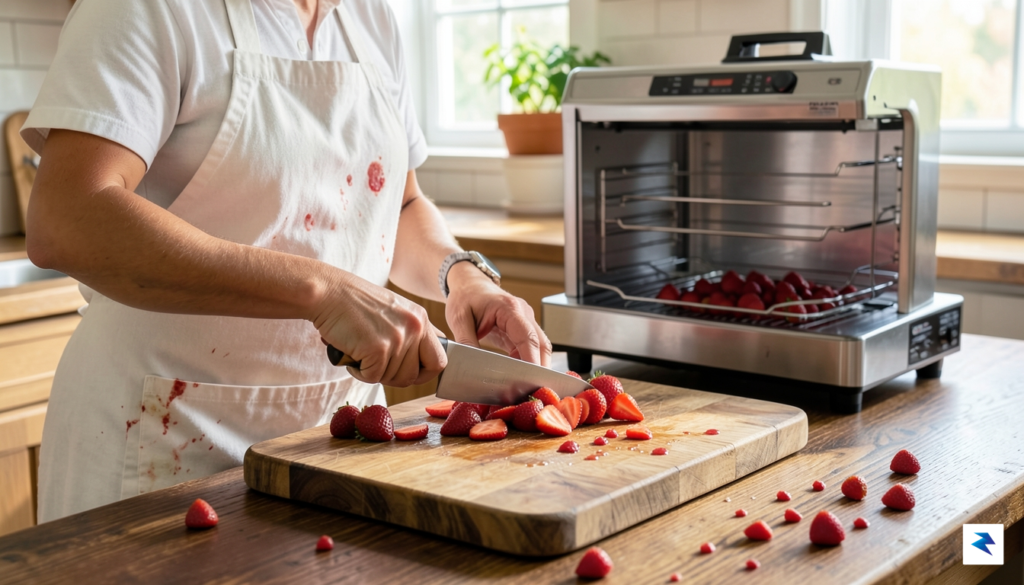
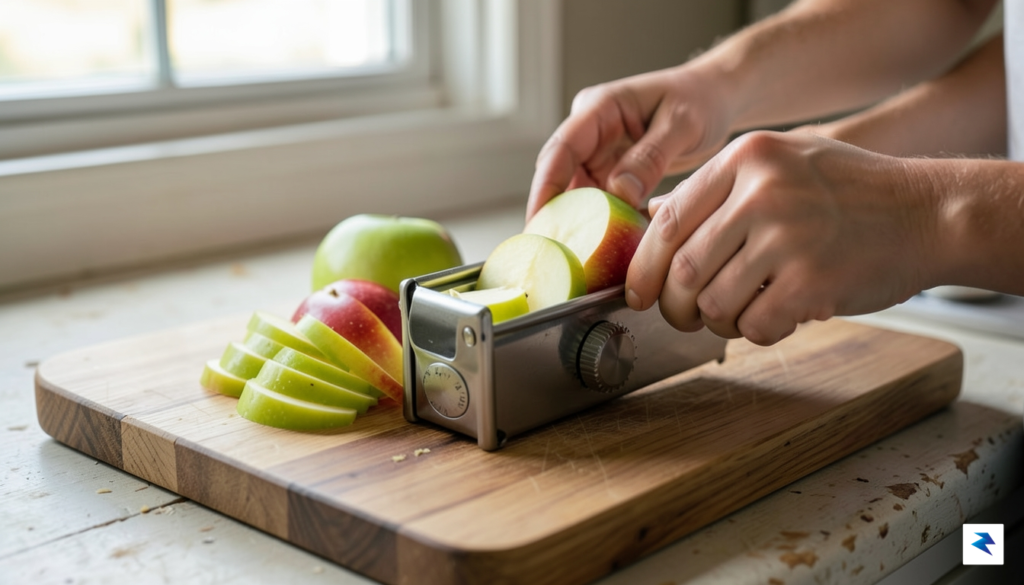
Achieving professional-grade results with your home dehydrator starts long before you press the start button. The most fundamental rule for consistent drying is uniformity; when slicing fruits, vegetables, or meats, aim for slices of equal thickness to ensure that every piece reaches the same moisture level simultaneously. If your slices vary wildly in size, you risk having some pieces become brittle and over-dried while others remain soft and prone to mold. Utilizing a high-quality mandoline or a steady hand with a chef’s knife can make a world of difference in your final product’s quality.
To preserve the vibrant color and nutritional integrity of your produce, consider implementing pre-treatment methods before placing items on the trays. Many light-colored fruits, such as apples, pears, and peaches, are prone to oxidation and browning once exposed to air. A quick soak in a solution of water mixed with lemon juice or citric acid can effectively neutralize the enzymes responsible for this discoloration, keeping your snacks looking as fresh as the day they were harvested. Furthermore, blanching certain vegetables like carrots or green beans can stop the enzyme activity that causes flavor loss, resulting in a more palatable product once it is rehydrated months later.
Once your food has finished its cycle, the most critical step for shelf-life security is the process known as “conditioning.” Even if your food feels dry to the touch, residual moisture can hide within the center of thicker pieces. To remedy this, place your cooled, dried goods into glass jars, filling them about two-thirds full, and shake them daily for roughly a week. If you notice any condensation forming on the inside of the glass, it is a clear indicator that the food needs to return to the dehydrator for additional drying time. This simple habit prevents the heartbreak of discovering moldy jars weeks after you have tucked them away in your pantry.
Conditioning is your final insurance policy. Never skip this step if you intend to store your dehydrated goods for longer than a few weeks; it is the only way to ensure your pantry remains shelf-stable and free of hidden spoilage.
Finally, your storage environment is just as important as the drying process itself. Dehydrated food remains at its peak when kept in an environment that mimics a professional food cellar: cool, dark, and strictly airtight. Exposure to light will degrade the vitamin content and color of your food, while fluctuations in temperature can lead to condensation inside your storage containers. By utilizing vacuum-sealed bags or airtight glass canisters stored in a dark cupboard, you create a stable, low-oxygen environment that keeps your bounty flavorful and safe for consumption for a year or longer.
You must be logged in to post a comment.