Apple’s Foldable iPhone: What the Latest Production Reports Really Mean
The State of Apple’s Foldable Ambitions For nearly a decade, the foldable smartphone landscape has been defined by a relentless cycle of…
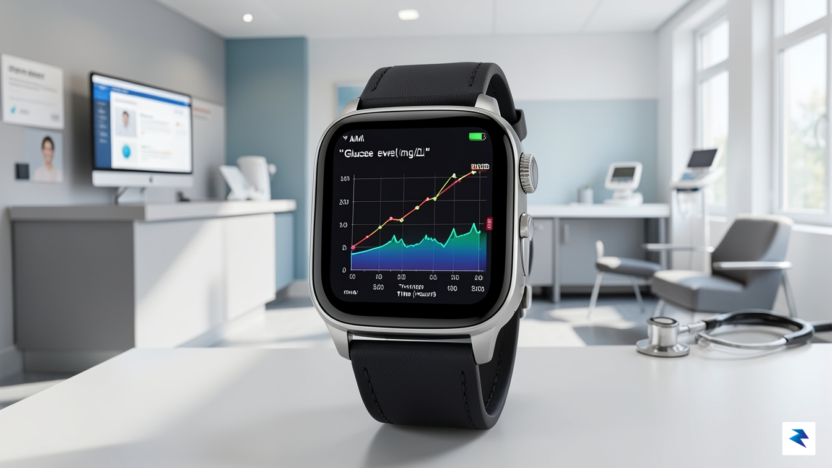
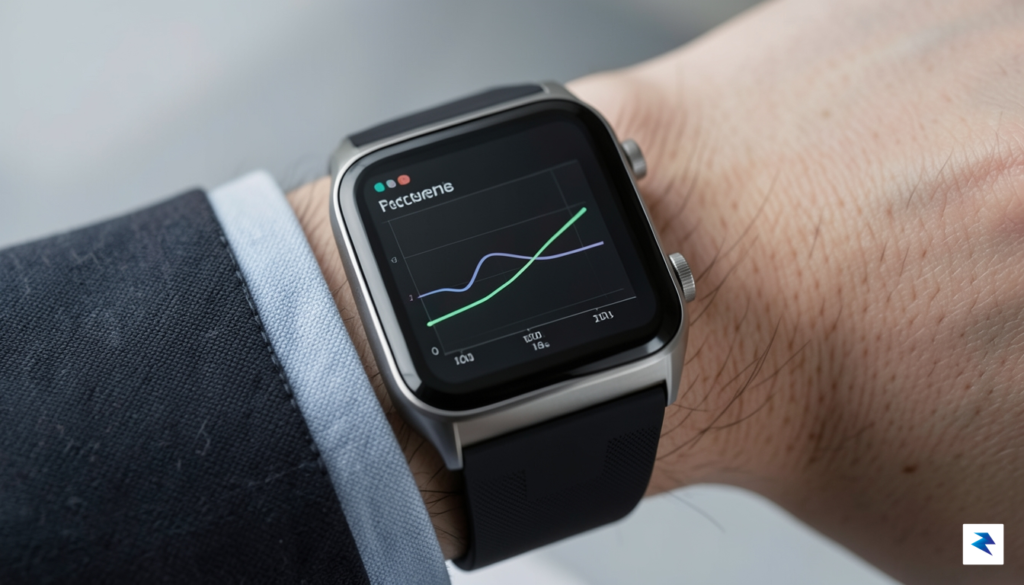
The evolution of wearable technology has fundamentally altered the landscape of diabetes management, shifting the experience from the repetitive, invasive ritual of manual finger-prick testing to a world of passive, continuous awareness. For years, individuals managing blood sugar levels were tethered to bulky glucometers and the constant need to stop their daily activities to draw blood. Today, the integration of continuous glucose monitor (CGM) data directly onto a smartwatch wrist display serves as a genuine game-changer. By bringing these metrics to the surface of your wearable device, health management moves from being a reactive, stressful chore to a seamless, integrated part of your lifestyle. This constant stream of data provides a bird’s-eye view of your physiological state, allowing you to observe how meals, exercise, and stress levels influence your numbers in real-time.
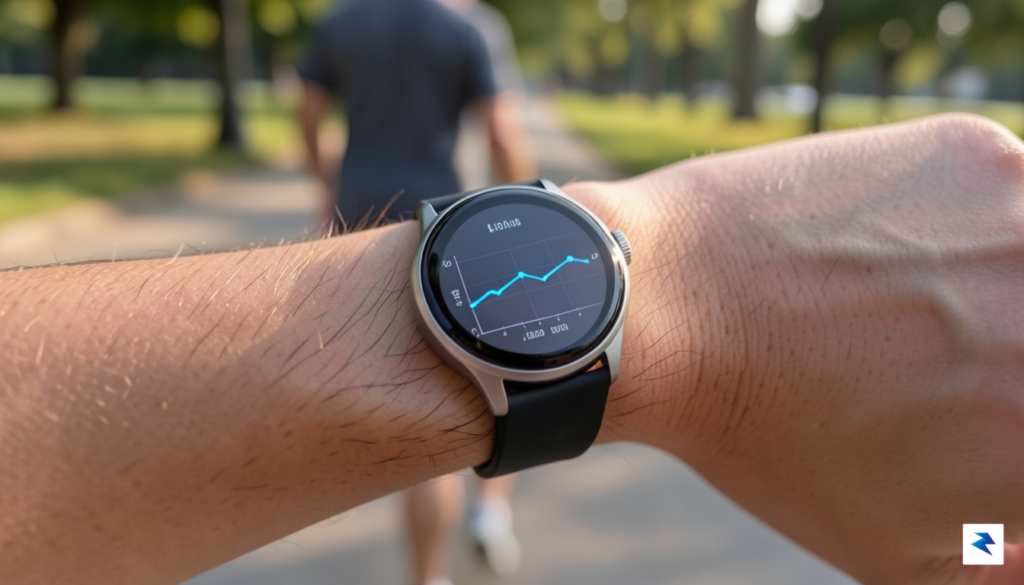
The psychological benefit of this shift cannot be overstated. When glucose data is hidden away inside a smartphone app or a physical logbook, the numbers often feel detached from the reality of your day. By having a trend line visible on your wrist, the data becomes contextual; you can immediately correlate a sudden glucose dip with a heavy workout or a spike with a recent meal without ever needing to pull out your phone. This reduced friction encourages more frequent, low-effort check-ins, which ultimately leads to better decision-making throughout the day. It turns abstract numbers into actionable insights, helping you stay ahead of potential highs or lows before they require drastic intervention.
Smartwatch integration transforms glucose management from an episodic medical task into a background health awareness, empowering users to make proactive adjustments throughout their day.
However, it is vital to remember that while this convenience is transformative, these devices function primarily as monitoring companions rather than diagnostic replacements. Your smartwatch provides a window into your current trends, but it is not a substitute for the clinical accuracy of a professional-grade medical device or the guidance of a healthcare provider. Because smartwatches rely on data pushed from your CGM system, they are susceptible to connectivity lag or minor sensor discrepancies. Therefore, you should always treat smartwatch alerts as a tool for informed self-management. By maintaining this balance—relying on the watch for helpful, real-time context while staying grounded in clinical safety—you can leverage these sophisticated settings to create a more manageable, less intrusive approach to your long-term health.
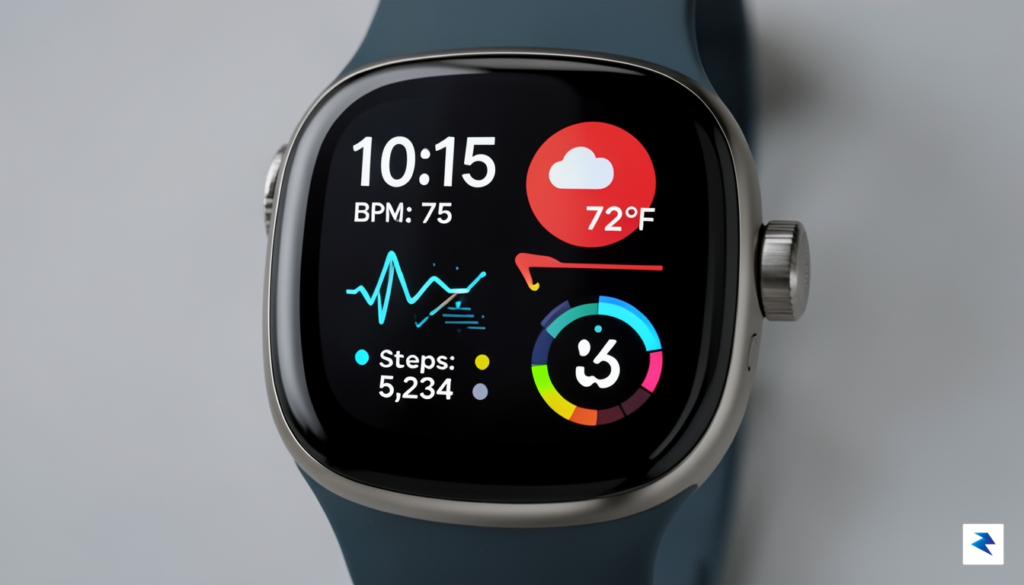
The true power of a wearable glucose monitor lies in its ability to provide passive, instantaneous feedback without disrupting your daily routine. If you find yourself tapping through multiple menus or swiping through endless app lists just to check your current blood sugar levels, your device is essentially acting as a barrier rather than a tool. To bridge this gap, you must treat your watch face as a dashboard tailored specifically to your metabolic health. By prioritizing high-visibility complications—the small, interactive widgets on your watch face—you can ensure your glucose trends are always front and center, regardless of whether you are in a meeting, at the gym, or driving.
For users of the Apple Watch, navigating to the “Face Gallery” in the Watch app on your iPhone is the most efficient way to begin. Look for watch faces like “Infograph” or “Modular,” which are designed specifically to house multiple data points simultaneously. Once you select your layout, tap on the complication slots and scroll down to your continuous glucose monitor (CGM) app to pin your real-time reading directly to the home screen. Similarly, Samsung Galaxy Watch users should utilize the “Watch Faces” menu within the Galaxy Wearable app. By customizing a face with “Widgets,” you can set your glucose data as the primary focal point, ensuring that a quick glance at your wrist provides the immediate context you need to manage your insulin or snack intake.
For those utilizing the Pixel Watch, the process involves long-pressing the watch face to enter the edit mode, where you can select tiles that support third-party health integrations. Choosing a “Utility” or “Analog” face that allows for an information-dense display is essential for keeping your numbers visible. Regardless of your hardware, the goal remains the same: minimize the “time-to-data” by ensuring your most critical metric is never more than a single glance away.
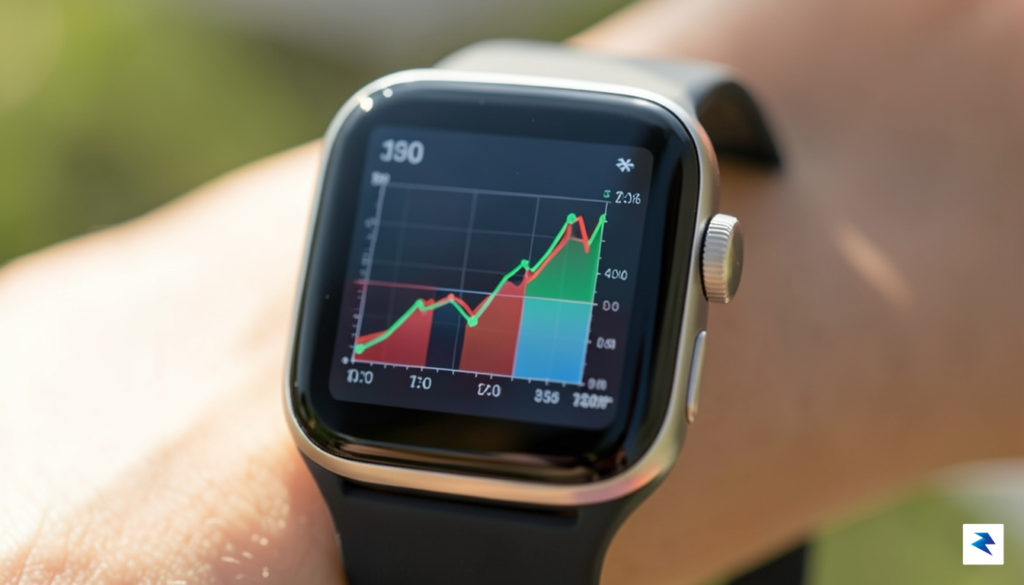
Effective glucose management is not just about having data available; it is about having data that is legible under any lighting condition, from harsh midday sun to dim bedroom environments.
Beyond simply placing the data on your screen, you must consider the visual hierarchy of your watch face. Opt for faces that allow you to set high-contrast colors—typically white text on a black background—as this provides the best readability for rapid checks. Many modern watch faces also allow you to bold the text of your complications, which is a subtle but impactful setting that prevents eye strain during quick glances. Furthermore, if your specific CGM app allows for color-coded alerts, ensure these are enabled so that your glucose reading changes color when you approach high or low thresholds. This visual cue acts as an immediate safety net, allowing you to recognize a potential health shift without even needing to read the specific numerical value on the screen.
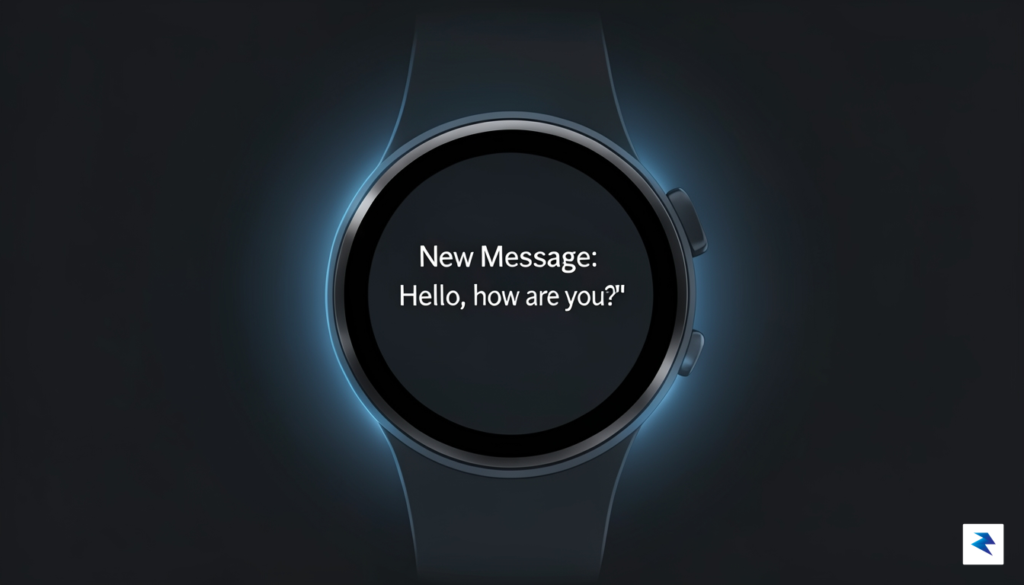
The primary challenge with modern health-tracking technology is a phenomenon often referred to as “alarm fatigue.” When a device pings incessantly for minor fluctuations that fall within your personal target range, your brain naturally learns to tune out the sound. To combat this, you must calibrate your high and low thresholds to align with your specific clinical needs rather than relying on generic factory defaults. By setting these guardrails slightly wider, you ensure that the device only demands your attention when your glucose levels are trending toward a point that genuinely requires intervention, such as an impending hypoglycemic episode or a persistent hyperglycemic spike.
Managing your “Do Not Disturb” (DND) settings is equally vital for maintaining a balance between constant awareness and personal peace. Most modern operating systems offer an “Emergency Bypass” or “Critical Alerts” feature, which allows high-priority health data to break through your silent mode while muting trivial notifications like social media updates or email pings. By configuring your watch to allow glucose alerts to bypass your sleep or focus schedules, you maintain the security of knowing your health is being monitored, even when you are resting or in a professional meeting. This nuance prevents you from feeling the need to disable notifications entirely, which is the most common reason users lose track of their vitals.
The goal of intelligent notification management is not to turn off your watch, but to ensure that when it does vibrate, you know exactly what level of urgency is required.
Beyond the timing of the alerts, the way your device communicates with you physically can significantly impact how you react. Many users overlook the utility of haptic feedback patterns, which allow you to distinguish between different types of alerts through sensation alone. By customizing the vibration intensity and rhythm specifically for glucose readings, you can learn to recognize an urgent low-glucose alert without even looking at your wrist. Consider these steps for refining your tactile experience:
Ultimately, the objective of these configurations is to transition from a state of reactive anxiety to one of informed management. When you customize your thresholds and tactile feedback, you reclaim control over your device, ensuring it acts as a silent, intelligent partner in your health journey. By treating your watch as a tool that requires fine-tuning, you effectively minimize digital noise and maximize the actionable data provided, allowing you to live your life with fewer interruptions while remaining safely within your desired health parameters.
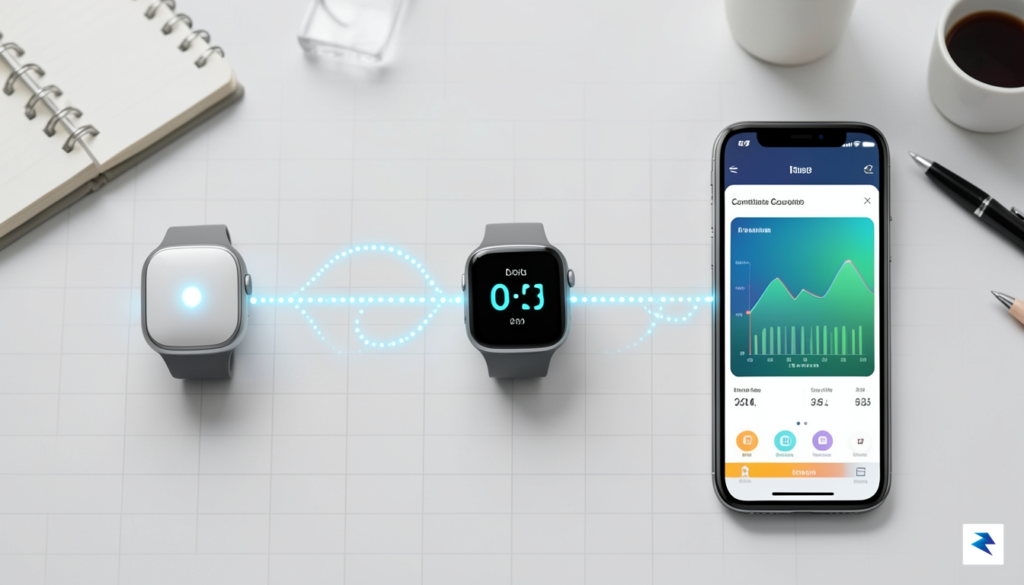
The synergy between your Continuous Glucose Monitor (CGM) and your smartwatch is the true foundation of a proactive health management ecosystem. Rather than constantly reaching for your phone, having your glucose levels conveniently accessible on your wrist transforms how you interact with your data throughout the day. Most modern hardware, such as the Dexcom G6/G7 or the FreeStyle Libre series, relies on a bridge application to relay sensor data to your watch face. Configuring these apps properly is the most critical step in establishing a stable connection, as it dictates how frequently your device polls for updates and how clearly that information is displayed on your wearable device.
To begin the integration process, ensure that your CGM app is fully updated on your primary smartphone and that you have granted all necessary background permissions. For Dexcom users, the official app typically requires you to enable the “Share” or “Follow” feature if you are using a third-party watch face, though direct integration is becoming standard on modern Wear OS and watchOS devices. Similarly, FreeStyle Libre users often utilize third-party bridge apps like Diabox or Nightscout to transmit data to smartwatches that do not natively support the official sensor ecosystem. Once the primary phone app is receiving data, you must navigate to your watch’s companion app settings to select the CGM as a primary data source for your watch face complications.
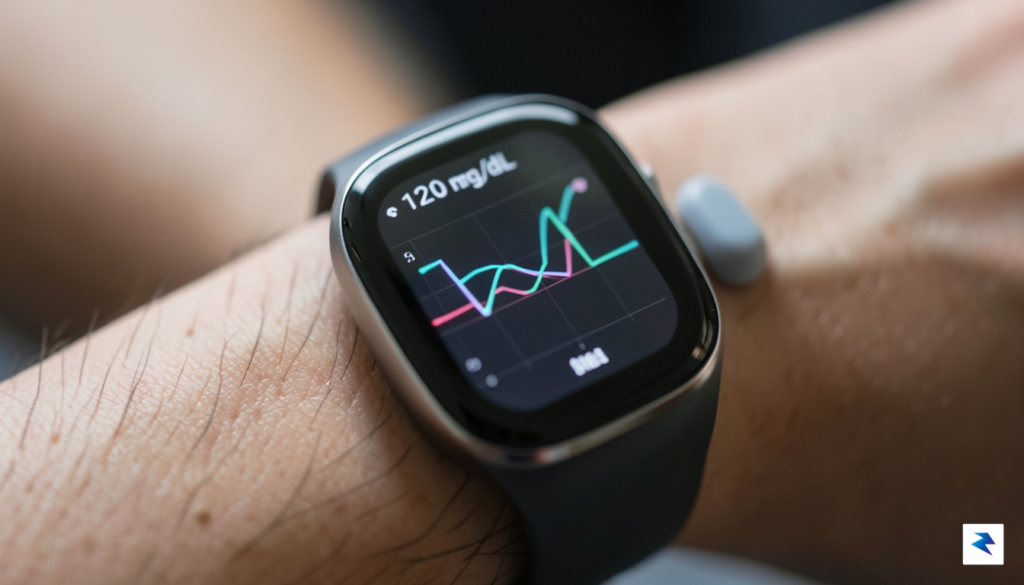
Even with the perfect configuration, you may occasionally encounter data gaps where your watch face shows a “Waiting for Data” message instead of a current reading. These interruptions are frequently caused by aggressive battery optimization settings on your smartphone. Because your phone acts as the relay station between the sensor and your watch, the operating system may force the CGM app to sleep to save power, effectively cutting off the data stream. To resolve this, navigate to your phone’s battery settings and ensure your CGM app is set to “Unrestricted” or “Don’t Optimize.” This allows the application to maintain a persistent Bluetooth handshake with your sensor, ensuring your watch face receives a fresh data packet every five minutes without fail.
Pro Tip: If you notice intermittent signal loss, double-check that your phone’s Bluetooth settings aren’t being overwhelmed by multiple connected devices. Keeping your phone within a reasonable range of your wearable is essential, as the Bluetooth signal strength can be significantly dampened by physical obstructions or interference from other high-frequency gadgets.
Finally, consider the role of Bluetooth interference when diagnosing persistent connectivity issues. If you wear multiple Bluetooth-enabled devices, such as wireless earbuds and a heart rate monitor, the constant data traffic can sometimes delay the CGM signal relay. If data gaps continue to persist despite disabling battery optimizations, try toggling your phone’s Bluetooth off and on, or restarting the CGM transmitter session through the official application. By treating your smartwatch and CGM as an integrated technical pair rather than two separate tools, you can minimize downtime and ensure that your glucose trends are always visible at a glance.
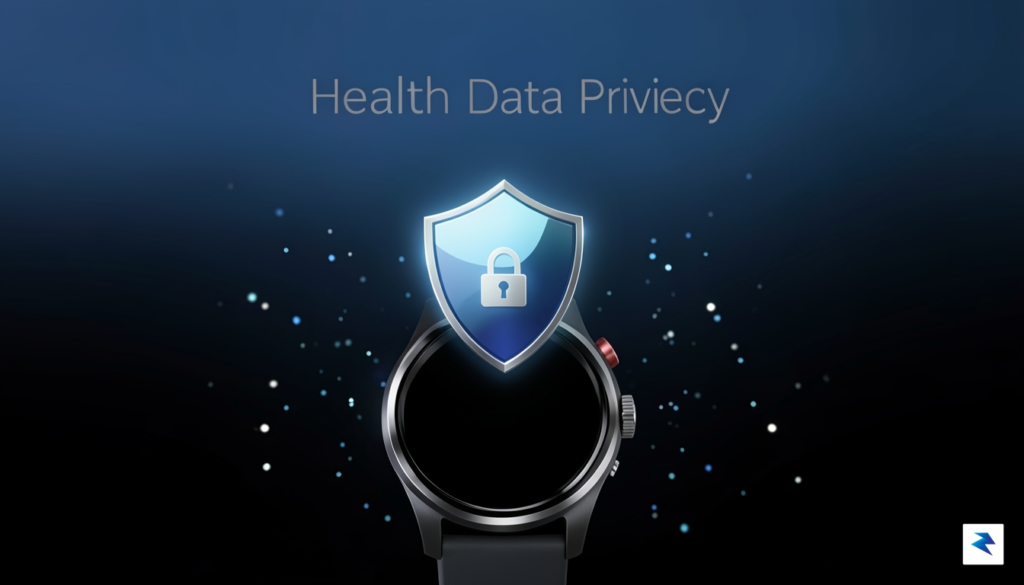
When your blood sugar history is conveniently synced to your wrist, the discussion around data privacy quickly becomes a significant consideration. Protecting your sensitive health information is, in fact, just as important as the monitoring process itself. Modern smartwatches are powerful health tools, but with that power comes the responsibility of understanding and managing the digital footprint of your most personal health metrics.
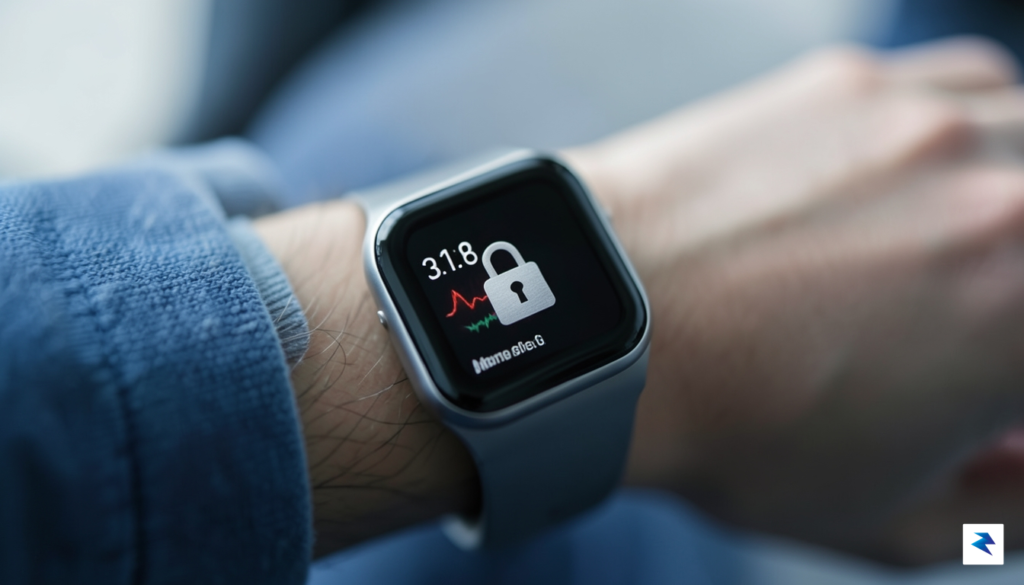
One of the most fundamental steps you can take to safeguard your health data begins directly on your wrist: enabling biometric or PIN locks on your smartwatch. Just as you wouldn’t leave your smartphone unlocked and unattended, your smartwatch, which often contains an even more intimate diary of your health, deserves the same level of protection. A strong PIN, pattern, or even a fingerprint/face ID (if supported by your device) acts as the first line of defense against unauthorized access should your watch be lost, stolen, or simply left unattended. This simple setting can prevent curious eyes or malicious actors from instantly viewing your entire blood sugar history, heart rate trends, and other personal health insights.
Beyond the immediate security of your device, it’s crucial to understand how your health data is handled within the broader manufacturer’s ecosystem. Platforms like Apple Health or Google Fit are designed to be secure repositories for your health information, employing robust encryption both in transit (when data moves between your device and the cloud) and at rest (when data is stored on their servers). This means your blood sugar readings and other metrics are scrambled and unreadable without the correct decryption keys, significantly reducing the risk of data breaches. Relying on these established, secure ecosystems for centralizing your health data offers a foundational layer of privacy protection that individual users would find challenging to replicate on their own.
However, the picture becomes more complex when third-party health applications enter the scene. While many apps offer valuable insights or integrations, they often request permission to access your health data, including potentially sensitive blood sugar readings. It is absolutely essential to scrutinize these permission requests carefully, granting access only to apps you trust implicitly and whose functionality genuinely requires that specific health information. Always question whether the convenience or added features an app offers truly outweigh the privacy implications of sharing your highly personal health data with another entity.
Regularly auditing which apps and services have access to your health data is a best practice that should become a routine habit. Within your smartwatch’s companion app (e.g., Apple Health app on iOS, Google Fit on Android) or the device’s settings, you can typically find a dedicated section for managing data permissions. Take the time to review every third-party app listed and revoke access for any that you no longer use, don’t recognize, or no longer trust. This proactive approach ensures that your sensitive health history isn’t lingering in the digital hands of unnecessary services, empowering you to maintain control over who sees and uses your personal health information.
Key Takeaway: Your smartwatch is a powerful health tool, but securing your data starts with enabling strong device locks, understanding ecosystem encryption, and diligently managing third-party app permissions.
You must be logged in to post a comment.